Installation of frescoes and photo wallpaper
Preparing the space
-
Requirement for a perfect end result is a smooth, dry, primed and white painted wall. Preferably to use an acryl prime coating or paint of light shades (better white paint), in order to avoid a color visibility through the wall.
-
To start the work you should determine a vertical line with a plummet on the wall that will serve you like an applying reference.
-
If your fresco/wallpaper of a big size, make sure that you have enough space to place it on the floor.
-
We recommend doing installation using the same lighting as will be used further. Use an additional lighting to check places of possible wrinkles.
-
Prepare the wallpaper glue in accordance with the instructions.
Frescoes and photo wallpaper installation (single canvas)
Installation of frescoes and photo wallpaper produced by one canvas and cut into rolls.
Applying technic of frescoes and photo wallpaper in rolls is the same as for the single canvas but previously you should to place all panels on the floor one after another in accordance with the image.
Frescoes installation on the ceiling
To make installation easier and tidier we recommend you to use a polyethylene film of the same size as your fresco.
Attention
-
It’s not possible to apply our products over existing wallpaper
-
Frescoes and photo wallpaper in rolls can be stored for 6 months saving all its characteristics
-
After transportation under the low temperatures, products must be stored packed in a room for 24 h.
-
If you are going to install products in high moisture locations (bathroom, swimming pool) you should previously apply an antifungal mixture to the wall to avoid a mold.
-
It’s necessary to apply a wallpaper glue to the wall as well as to the back of wallpaper/fresco
-
After applying the glue to the back of wallpaper you should hang it within 5-7 min.
-
During product installation and its drying all windows and doors have to be closed.
Installation of outdoor frescoes (Sabbia)
Affresco factory has developed a special material for outdoor frescoes – Sabbia.
Outdoor frescoes fixed with a special supporting net, preventing cracks appearance and ensuring longevity. Outdoor frescoes are resistant to the wind, frost, ultraviolet ray and humidity thanks to using a special varnish.
Attention
-
Outdoor frescoes can be used exceptionally for the exteriors!
-
White tile glue must be used for the installation of outdoor frescoes!
-
The installation has to be made under the temperatures not lower than 15 °C and not under sunrays and rain.
Installation of scenic and background wallpaper
Installation of the background wallpaper Affresco Colore, Ethno, Fabrika.
Installation's technique of the background wallpaper is the same as for non-woven wallpaper or frescoes. There is only one exception: the joint of background wallpaper has to be strictly in the corner between walls with an overlap of 3-5 cm.
Preparation
-
Requirement for a perfect end result is a smooth, dry, primed and white painted wall. Preferably to use an acryl prime coating or paint of light shades (better white paint), in order to avoid a color visibility through the wall.
-
To start the work you should determine a vertical line with a plummet on the wall that will serve you like an applying reference.
-
If your fresco/wallpaper of a big size, make sure that you have enough space to place it on the floor.
-
We recommend doing installation using the same lighting as will be used further. Use an additional lighting to check places of possible wrinkles.
-
Prepare the glue for heavy non-woven wallpaper in accordance with the instructions.
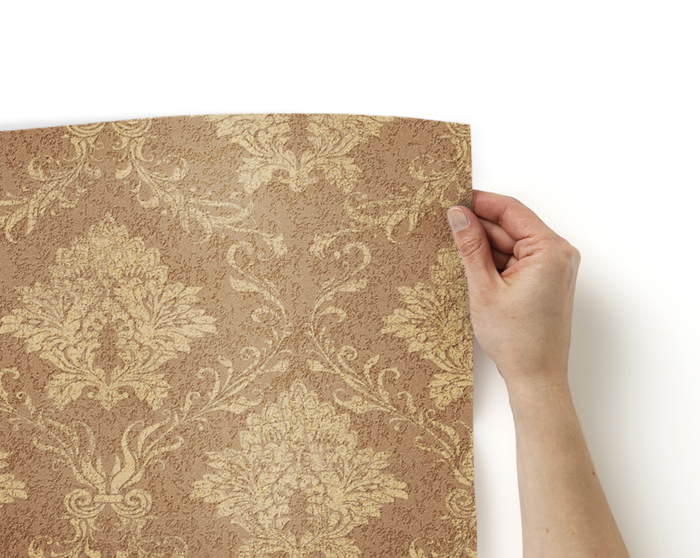
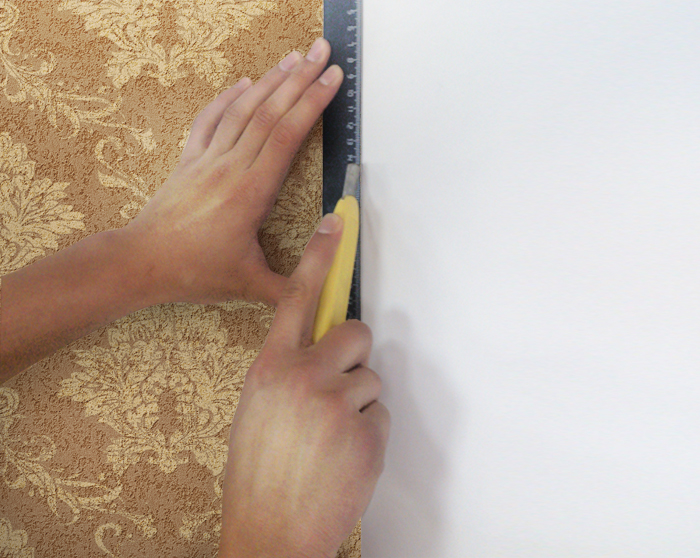
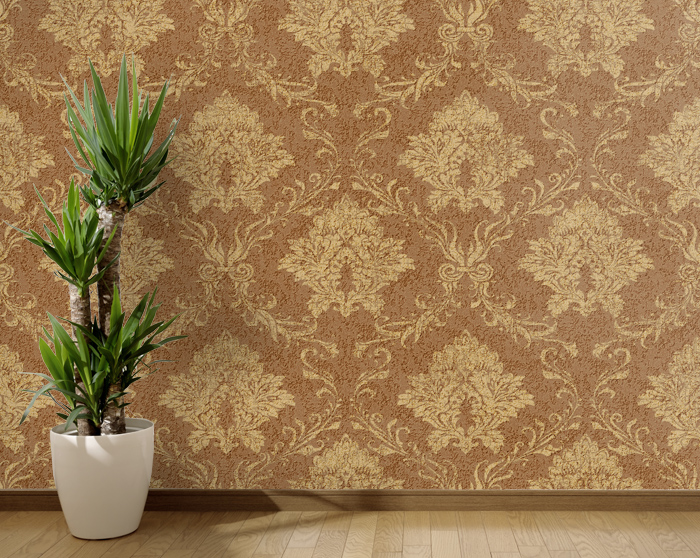
Installation of scenic wallpaper (single canvas and in rolls)
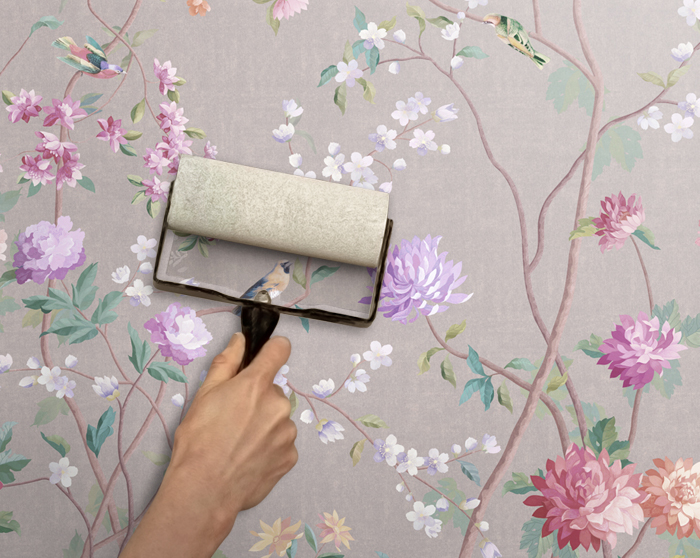
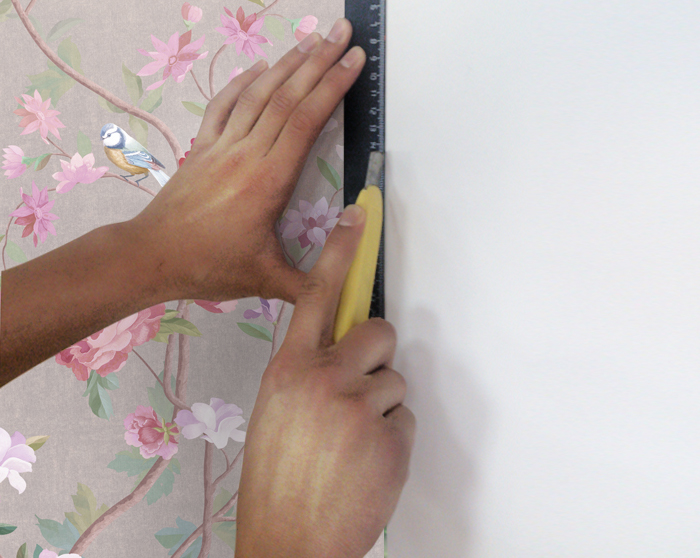
Installation technique is the same as for Affresco frescoes
Attention
-
It’s not possible to apply our products over existing wallpaper
-
Frescoes and photo wallpaper in rolls can be stored for 6 months saving all its characteristics
-
After transportation under the low temperatures, products must be stored packed in a room for 24 h.
-
If you are going to install products in high moisture locations (bathroom, swimming pool) you should previously apply an antifungal mixture to the wall to avoid a mold.
-
It’s necessary to apply a wallpaper glue to the wall as well as to the back of wallpaper/fresco
-
After applying the glue to the back of wallpaper you should hang it within 5-7 min.
-
During product installation and its drying all windows and doors have to be closed.
Installation of Fabrika19 panels
Preparation
-
Requirement for a perfect end result is a smooth, primed, sanded and white painted wall. Preferably to use an acryl prime coating or paint of light shades (better white paint), in order to avoid a color visibility through the wall.
-
We recommend doing installation using the same lighting as will be used further. Use an additional lighting to check places of possible wrinkles.
Attention
-
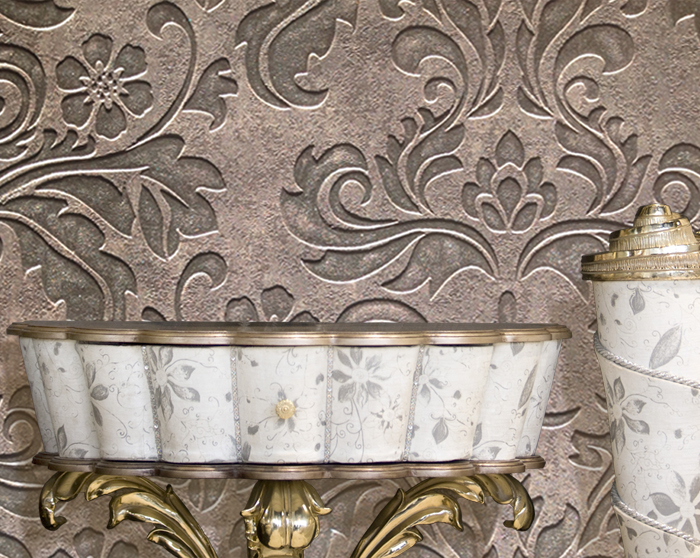
Applying technique of panels is the same as for non-woven wallpaper, but the glue has to be applied to the back of the panel as well as to the wall. It’s not possible to apply panels over existing wallpaper.
-
During product installation and its drying (24h) all windows and doors have to be closed.
-
Wipe off glu on the surface with a wet sponge.
Materials Needed:
glue for heavy non-woven wallpaper, plastic tub for the glue, paint-roller (for applying the adhesive to the wall and wallpaper), wide roller for wallpaper (to push out bubbles and wrinkles), narrow plastic roller (to smooth edges), sharp knife (to trim away excess).
Decoration of a panel by yourself
Ordering a white panel you can use any paints for its decoration. You can start decorate a panel after its installation directly on the wall.
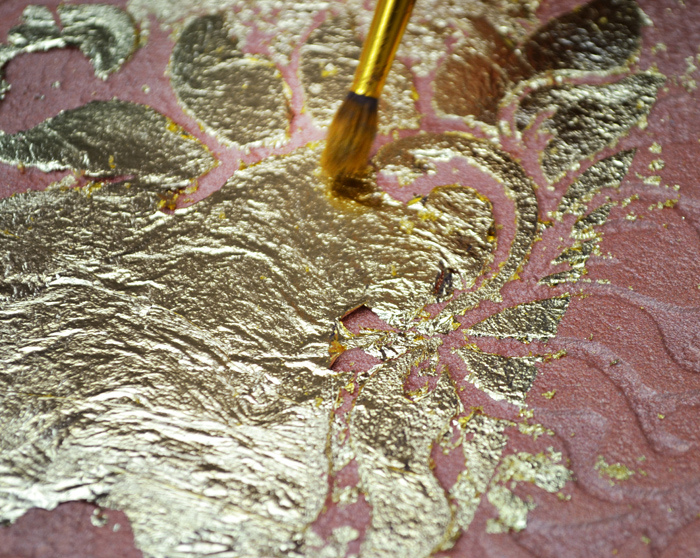
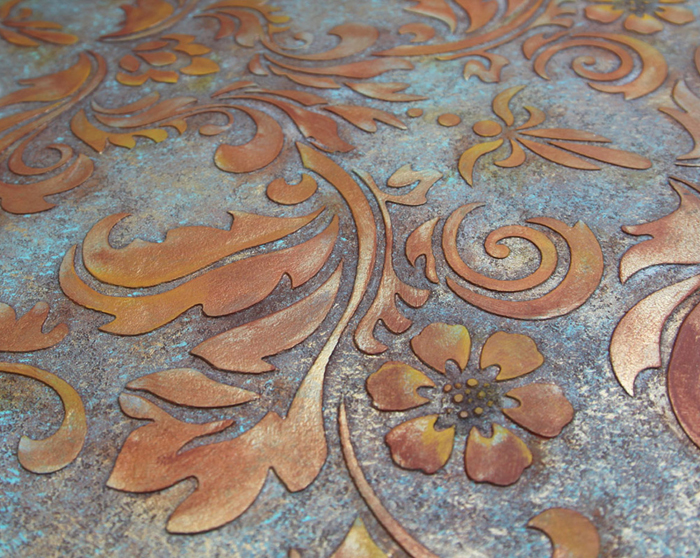
Here you can find detailed decoration’s ways of Fabrika19 panels.
Attention
-
Panels in rolls can be stored for 6 months saving all its characteristics
-
After transportation under the low temperatures, products must be stored packed in a room for 24 h.
-
If you are going to install products in high moisture locations (bathroom, swimming pool) you should previously apply an antifungal mixture to the wall to avoid a mold.
Installation of Fabrika19-53 panels
Preparation
-
Requirement for a perfect end result is a smooth, primed, sanded and white painted wall. Preferably to use an acryl prime coating or paint of light shades (better white paint), in order to avoid a color visibility through the wall.
-
We recommend doing installation using the same lighting as will be used further. Use an additional lighting to check places of possible wrinkles.
Attention
-
Applying technique of panels is the same as for non-woven wallpaper, but the glue has to be applied to the back of the panel as well as to the wall. It’s not possible to apply panels over existing wallpaper.
-
Ordering more than 3 rolls (1,06 х10m) or more than 6 rolls (0,53х10m) you should strictly respect the joining sequence of numbered rolls.
-
During product installation and its drying (24h) all windows and doors have to be closed.
-
Wipe off glue on the surface with a wet sponge.
Materials Needed:
Glue for heavy non-woven wallpaper, plastic tub for the glue, paint-roller (for applying the adhesive to the wall and wallpaper), wide roller for wallpaper (to push out bubbles and wrinkles), narrow plastic roller (to smooth edges), sharp knife (to trim away excess).
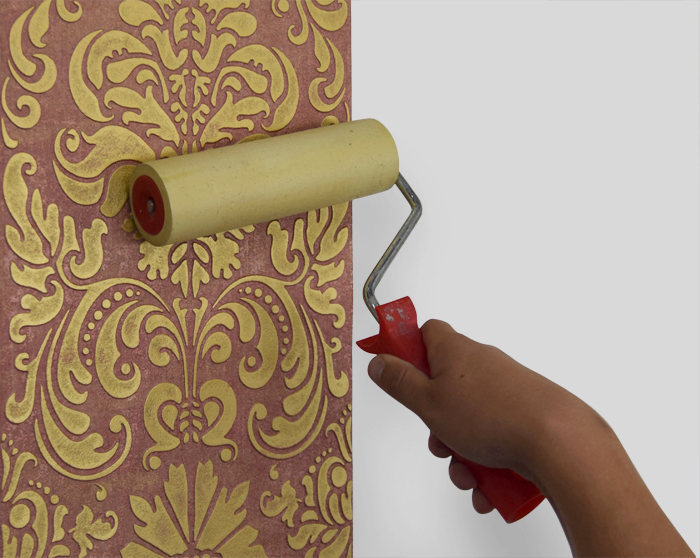
Decoration of a panel by yourself
Ordering a white panel you can use any paints for its decoration. You can start decorate a panel after its installation directly on the wall.


Here you can find detailed decoration’s ways of Fabrika19 panels.
Attention
-
Panels in rolls can be stored for 6 months saving all its characteristics
-
After transportation under the low temperatures, products must be stored packed in a room for 24 h.
-
If you are going to install products in high moisture locations (bathroom, swimming pool) you should previously apply an antifungal mixture to the wall to avoid a mold.
